Can the bacteria in your gut make you a happier person?

image provided by Calvin Tribelhorn

Guest post by Calvin Tribelhorn

What if I told you there is a parasite that can alter the structure of your brain? A parasite that causes you to seek out dangerous and risky behaviour, increasing your chances of being in a car accident? A parasite that causes certain animals to lose their natural fear of predators.

This parasite is not fiction, but a single-celled organism that lives in the guts of cats, called Toxoplasma gondii. It demonstrates how much influence our gut has over our brain, mood, emotions and actions. And begs the question, when it comes to how you act, who is really in control?

How your gut influences your brain.

The colonies of microbes residing in your gut are like tiny drug factories, pumping out different chemicals and substances that affect your brain and mood. One such chemical is Serotonin, where 80% is created as a by product of certain microbes in your gut. The serotonin is then transported up the vagus nerve and experienced by the brain. Serotonin handles mood regulation, sleep and your overall sense of peace.

Further studies suggest that certain microbes may have antidepressant and anti-anxiety properties on par with drugs like citalopram. These studies are only a fraction of the research that is beginning to paint a picture of just how influential our gut microbiome is over our brain. They show the many mental afflictions linked to a disrupted gut microbiome.

 Is autism linked to our gut?

A 2012 paper by Dr Derrick Macfabe describes what happens when rats are injected with something called propionic acid (PPA). The PPA injection provokes peculiar changes in the rats brains. Changes like neuro-inflammation, increased oxidative stress and glutathione depletion. The rats also display abnormal movements, repetitive interests, cognitive deficits, and impaired social interactions.

These are all symptoms associated with people who have autism spectrum disorder. PPA is a fermentation by-product of bacteria found in the gut, primarily desulfovibrio bacteroidetes and Clostridia. Patients with autism have many more species of the clostridium bacteria and have high levels of PPA in their feces. According to Dr Sydney Finegold, antibiotics wipe out or suppress organisms in the gut, but the Clostridia bacteria is one that persists regardless of antibiotics.

 A CBC program titled the autism enigma featured Ellen Bolty, who explains how her son’s behaviour changed after six courses of antibiotics over a two month period for an ear infection. He was later diagnosed with autism. Digging into the research, Ellen came across information about the clostridium bacteria and how an antibiotic called Vancomycin, has proven to be effective in targeting clostridium bacteria. She then started searching for a doctor who would be willing to try the antibiotic on her son. 

After trying the antibiotics the results were astounding. She stated “Within a matter of weeks he became calm, he was aware of his environment. He is able to put puzzles together.” All things he had never done before.

 Vancomycin was able to temporarily suppress the clostridium bacteria, resulting in fewer symptoms associated with autism, however, once the antibiotics wore off, so did its effects and the clostridium bacteria came back. This case led to a pilot study with Dr Finegold, who found that out of ten autistic children who were treated with vancomycin, eight of them had temporary but significant improvements. Now jumping to conclusions about the cause of autism, has not been helpful in the past. But the idea that autism could be the result of a disturbance of the gut is gathering more and more evidence.

The disturbed gut ecosystem would also explain the common gastrointestinal issues autistic children suffer. At this point, saying the gut microbiome is important to your health is the understatement of the year. Dr Martin Blosser says that losing the entire microbiome outright would be as bad as losing your kidneys or liver.

 How to start fixing your gut?

Unlike your kidneys or liver, you can change the makeup of your microbiome by what you put in your mouth. Your microbiome is as unique to you as your fingerprint. We can't choose what kind of start we get in life when it comes to our microbial make-up. But we do have control of the single biggest factor when it comes to the make-up and health of our microbiome. Our diet.

You see microbes are everywhere. And your gut microbiome is always changing depending on the food you eat. Certain foods will feed certain species of bacteria that will either enhance your health, or destroy it. If you eat lots of processed foods and sugar your microbiome will soon reflect an imbalance of species that thrive on those foods, sending signals to your brain to get more and more of those highly processed sugary foods. This escalates cravings to feed this army of harmful microbes that have taken over.

You see the science around the role each strain of species performs is still new. There are so many different types of species that we haven't had the time to track and record them all. And it is only the onset of DNA sequencing that we can investigate this world at all.

What we do know is that among healthy individuals there is a balance of microbes of around 75% beneficial, and 25% not. This balance ensures that your immune system always knows what types of bacteria are harmless and which to get rid of immediately. 

Your gut is like a well trained guard dog, and only by exposing it to the enemy can it learn what to look out for.

Foods for excellent gut health.

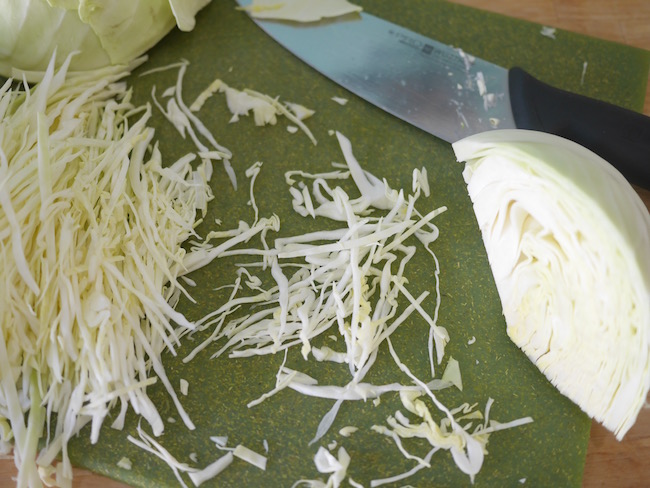
If you are reading this you have heard the terms probiotic and prebiotic foods. Prebiotic foods, are foods rich in fiber. Fiber cannot be digested by the human body. In fact, when we eat fiber we are eating for our microbes who like us, need food for fuel. If your microbes don't get fiber they will turn on the mucus lining in your intestines for fuel. This is a huge problem as that is the barrier that keeps microbes, food particles and waste from entering the bloodstream.

The term “Leaky Gut” name describes exactly what is happening within your gut when all is not well. As soon as this barrier is damaged you have a doorway for the contents of the gut to begin leaking into the bloodstream. Which is a huuuge problem! And is the root cause for so many chronic illnesses we see today.

This spikes inflammation in the body, as the immune system goes on high alert to get rid of  whatever has leaked into the bloodstream. Leaky gut has been linked to a number of health problems like Crohn's disease, irritable bowel syndrome, depression, chronic fatigue syndrome, and virtually every autoimmune disease.

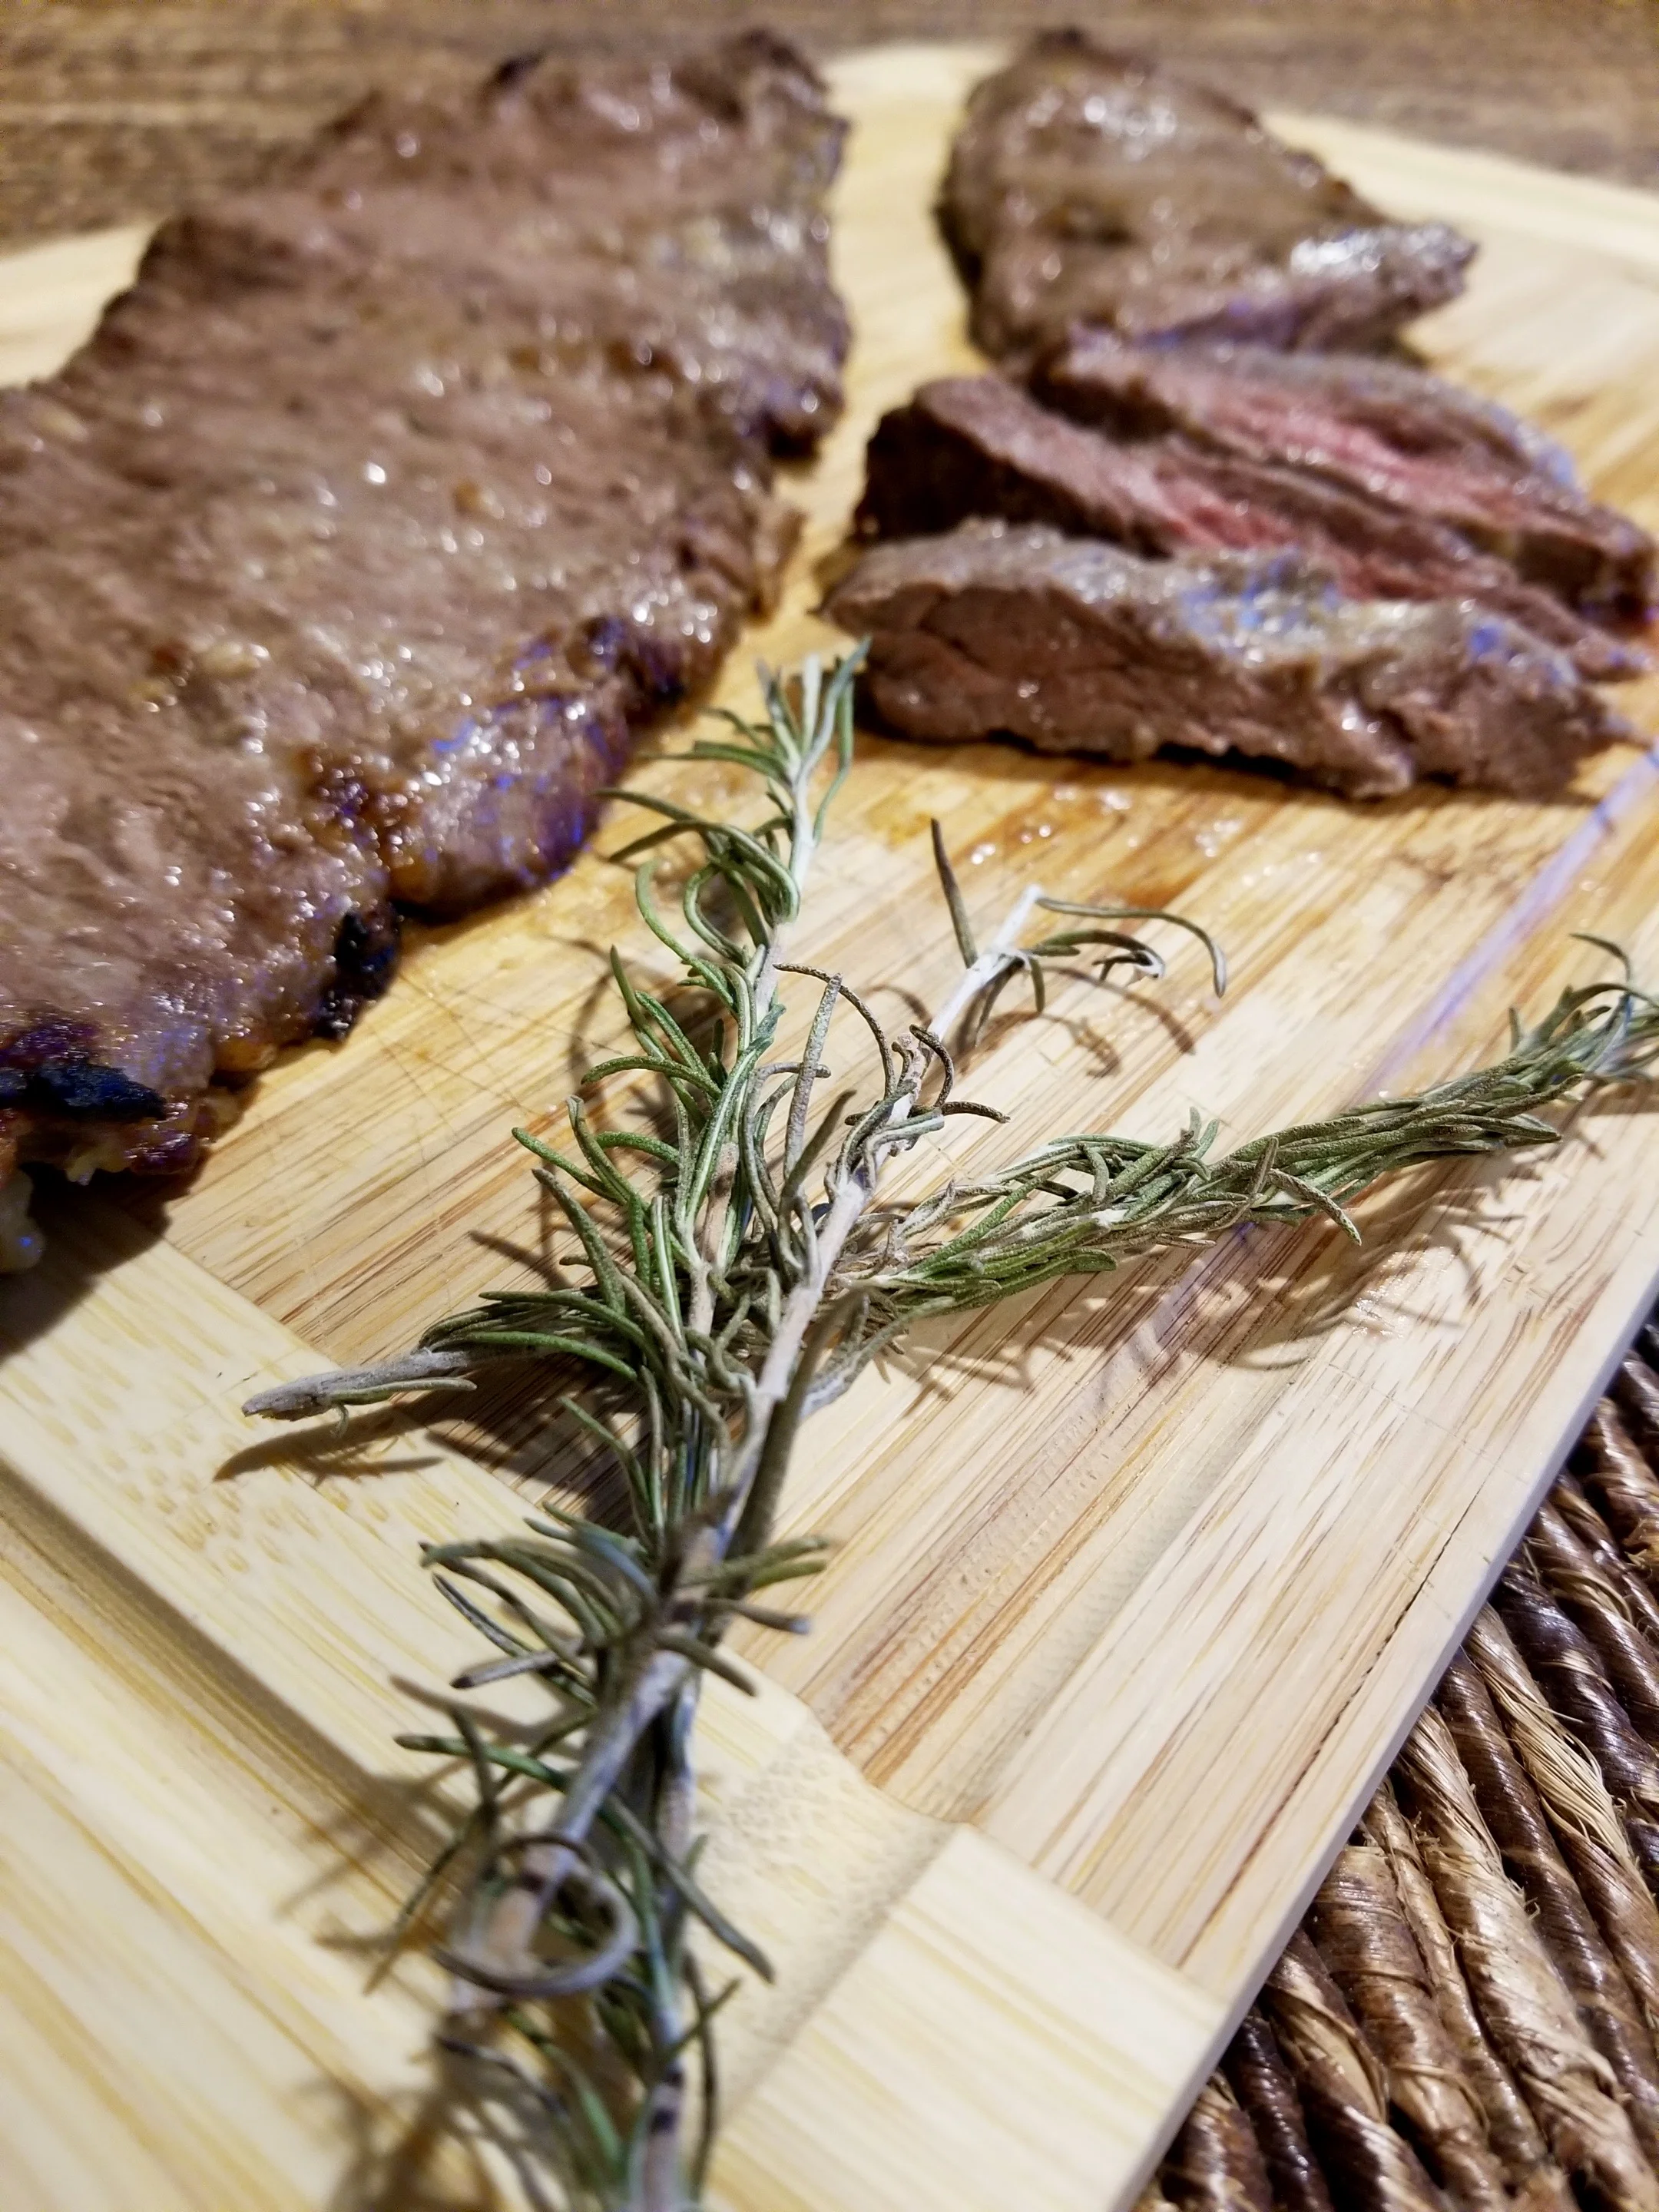
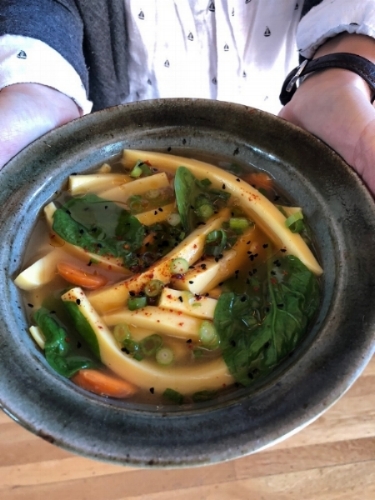
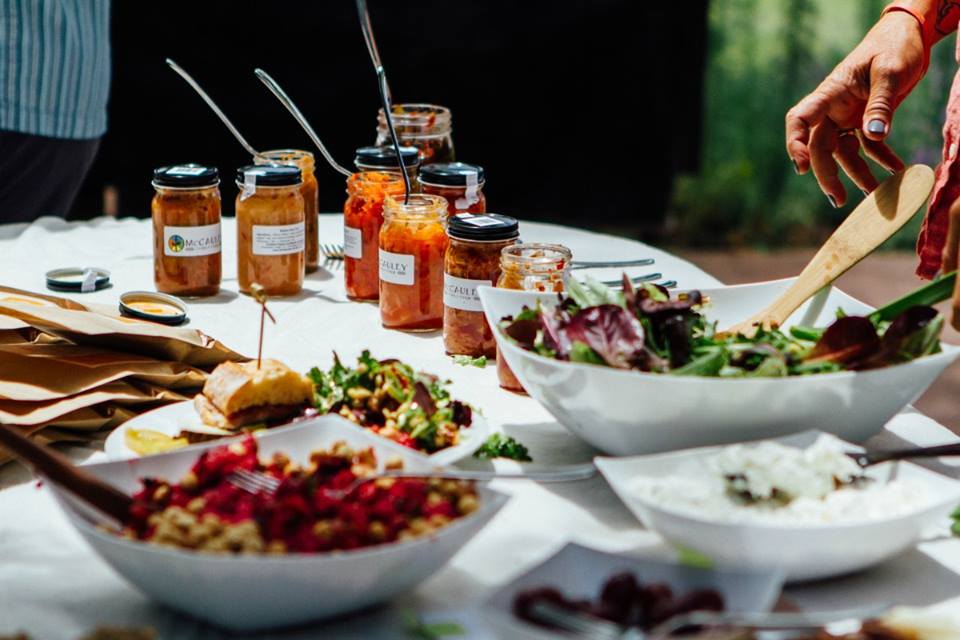
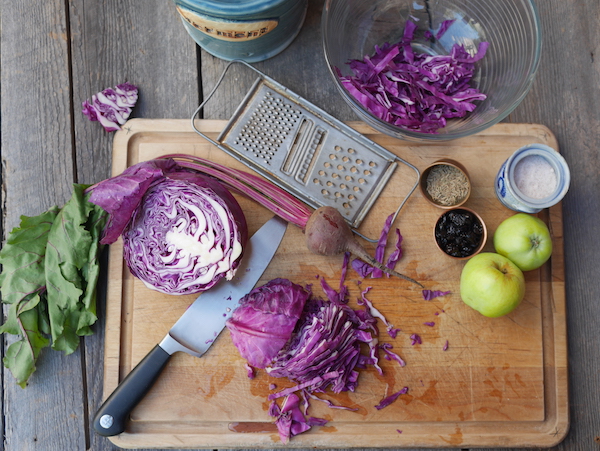
The key to keeping your microbes energized and healthy is to eat a wide variety of fiber rich foods. Some of my favourite sources of prebiotics are listed below:

prebiotics.png

The second type of food for maintaining good gut health is probiotics. These are different to pre-biotics as they introduce new colonies and species of bacteria into your gut. Probiotics means ‘for life’ and this term is used when foods contain many bacterial species that reshape your microbiome. Think of them as handy reinforcements in the heat of battle.

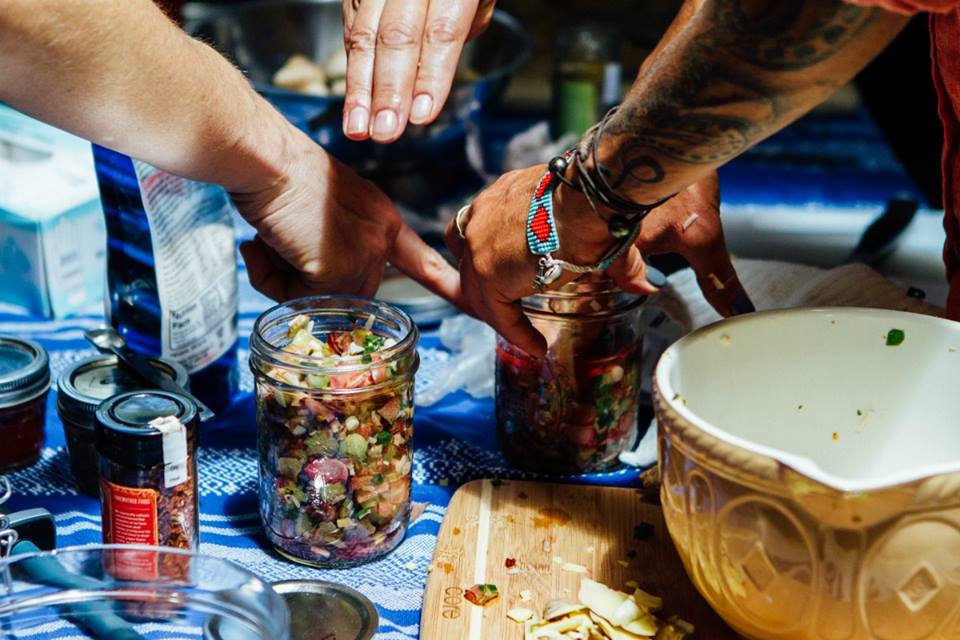
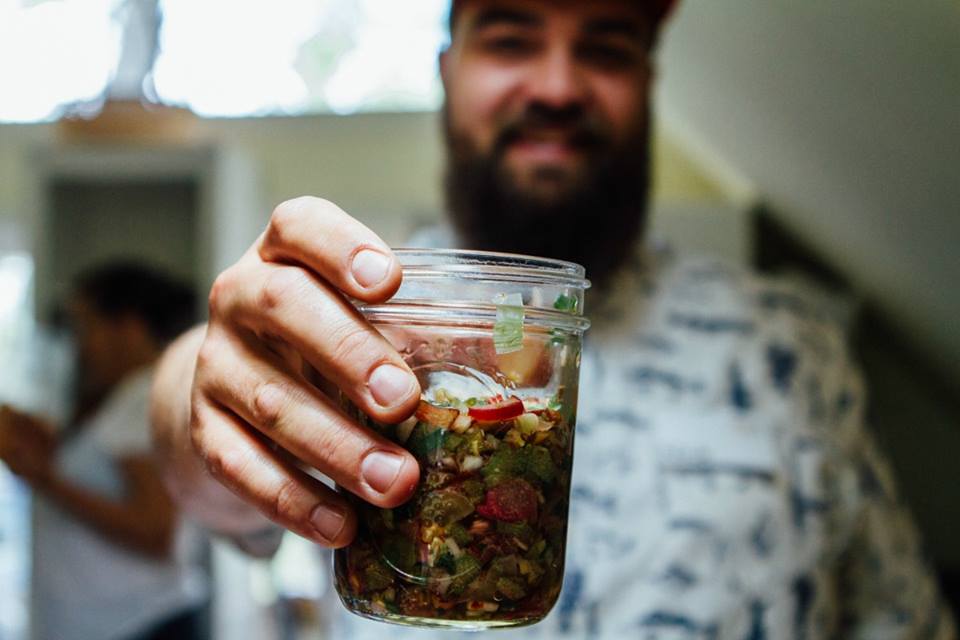
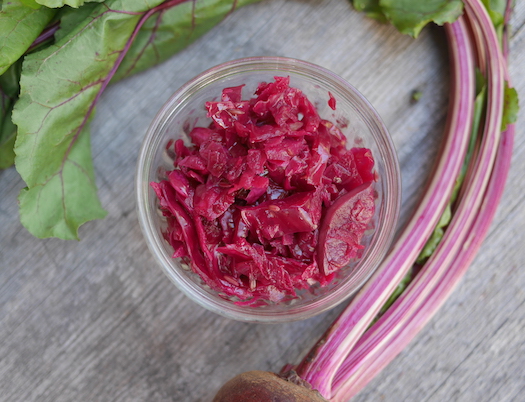
Probiotics come in many different forms, but the best and most cost effective way of getting them, is through fermented foods. As with fiber, not all fermented foods are made equal. Certain foods will contain different amounts and varieties of microbes to help repopulate your gut.

There are certain ferments that are both probiotic and prebiotic, meaning they supply your gut with much needed fuel as well as reinforcements of new bacterial strains. Your microbes are the foundation of your metabolism. Without them we would not be able to survive. Eating the right foods so that your microbes are healthy will over time bring your overall health into balance.

Your body is a miraculous machine. One that knows how to heal itself. It just needs to be put into the right state of balance first and then the rest will take care of itself. Getting your gut into balance is the single biggest leap you can do for your overall health, and one that will ensure you are able to live drug free.

This post is by Calvin Tribelhorn. You can see more of Calvin’s work at his website Kommunitea. If you are interested in more information Click here to get Calvin’s free video series on fermented beverages. 


Eat Your Natto : Natto Caesar Salad Recipe

IMG_E0709.jpg

Natto is a Japanese fermented soybean condiment that has traditionally been a breakfast staple. “Eat your natto” tumbles out of Japanese parents’ mouths with the same it’s-good-for-you tone as American parents might say, “Drink your milk” or “Eat your broccoli.” Most Americans have never heard of natto, despite the love affair in this country with sushi and Japanese food.

Soybeans are the richest source of protein of all the legumes. When we add the bacteria B. subtilis var. natto, it produces enzymes that digest these proteins into simpler forms of peptides or even simpler amino acids, which makes them easier for us to digest. As the bacteria digest the proteins, they release ammonia, making the natto kind of stinky. The bacteria also digest the carbohydrates, to a point where the sugars are at near zero after 18 hours of fermentation.

The health benefits of eating natto regularly are clear and impressive, and the depth of the research is strong and convincing (we will get deeper in post over the next few months). If there is a true superfood, it might just be natto.

Topping the list of soybeans’ vitamins is K, a fat-soluable vitamin that comes in two forms. You might remember something about leafy greens and vitamin K — that’s K1. It’s found in plant foods because plants require it for photosynthesis. So, eat your veggies and you get your K1, which helps our blood to clot. Vitamin K2, on the other hand, isn’t produced by plants but rather by bacteria, and it can be found in cheeses, sauerkraut, and fermented soybeans like miso and natto. Natto has by far the highest concentration — 15 times more than hard cheese, and over 200 times more than sauerkraut — which is good news for those of us looking to increase our bone density. K2 is thought to build bone health as well as heart health, among other things. Studies indicate that K2 decreases the incidence of bone fractures in women with postmenopausal osteoporosis. [[ Iwamoto 2006]]Vitamin K2 comes in many forms; menaquinone-7 (MK-7) is the form most easily used by the human body, and natto’s vitamin K2 is nearly all in this form. [[Yanagisawa 2005]]

Are you ready to eat some natto, here is an easy recipe. You can find natto frozen in most Asian stores, or from makers such as NY natto. Our new book out in June will show you how to make your own step by step.

Natto Caesar Salad

Yield: 2 - 4 servings

You’ll be surprised by how creamy this dressing is. For this easy salad, make the dressing in the bottom of the bowl, add crisp romaine lettuce leaves, toss, and top with croutons. We also use this dressing for other chopped greens, like kale, and it works quite well. It needs to be used immediately, so we just make what we need for one meal.

3   garlic cloves

1   healthy tablespoon natto (page 00)

1   ounce oil-packed anchovies, drained (optional)

{1/2} cup olive oil

2   tablespoons mayonnaise, preferably homemade (page 000)

2   tablespoons lemon juice

1   tablespoon apple cider vinegar

1   healthy teaspoon Dijon mustard

{1/4}–{1/2} teaspoon freshly ground black pepper

Salt

1   head romaine lettuce or other greens, torn into bite-size pieces

Croutons

1.  Place the garlic, natto, and anchovies, if using, on a cutting board. Using a knife, mince them together, chopping back and forth across the pile until the mixture is mostly smooth. You don’t want large chunks.

2.  Place the natto mixture in the bottom of the salad bowl. Add the olive oil, mayonnaise, lemon juice, cider vinegar, mustard, pepper, and salt to taste and whisk together. It will thicken quickly and take on a natto-y texture. Don’t be concerned.

3.  Place the lettuce in the bowl and toss until the lettuce is evenly coated. Top with a generous helping of croutons and serve.


Flavoring with Miso : Miso Flank Steak Recipe


In the last few years we have been diving deep into the fermentation of grains and legumes now we are ready to start sharing some of what we have learned with you. Let’s start with miso. Miso is more than just soup stock. It is an umami-rich, salty fermented paste, traditionally made with soybeans combined with a grain koji, generally rice koji, or barley,  koji  (with some the exception of an all soybean miso). It is a quintessential Japanese seasoning that is also a nutritional powerhouse. It plays a vital role in the kitchen and in the health of the people who use it. It is both very simple and very complex.

Like other foods made from fermented soybeans, miso inherits a number of health benefits from the microorganisms predigesting the legumes. Unique to miso is the fact that there is a whole team of microbes — the koji aspergilli, the lactic acid bacteria, the yeasts, and the bacilli — working together, or at least with tolerance for each other, to produce amazing health benefits.

Specifically, miso is high in proteins that have been broken down into amino acids and further into peptides, which our bodies can more easily turn into energy. That’s why we like to call miso a top shelf femrent.

In this recipe we simply want to help you discover how it can be used for flavor.

Miso Flank Steak

Yield: about 1 ½ pounds

Christopher inherited a gas grill from his father. It wasn’t special in any way, other than having been his father’s. By the time it came to our home it was already on the back end of its serviceable life. The metal was rusting through, as it does with old grills, yet Christopher kept it going for years with very creative fixes. The thing was, nobody else could cook on it. Like fire from a dragon, it flamed up randomly, upon which he would tame it with a water bottle, and there was nothing even about the heat. Yet the vegetables and meats he grilled were always delicious.

One day, there just was no more CPR that could be done, so he took it apart and recycled the metal. Meanwhile, we had to figure out a new way to cook a flank steak. We discovered that a long miso marinade and a quick broil is almost as good and much faster than grilling. You can use whichever kind of miso suits your fancy; we like strong misos, like red miso, or two parts white miso and one part hatcho miso. We suggest (the classic) combination of ginger and garlic but feel free to use any aromatics. Aromatics, fresh galangal, ground black pepper, horseradish, or mustard, minced, chopped, or ground as appropriate.

In the spirit of eating meat as a “fringe” portion of a meal, a few strips of flank steak are a wonderful addition to a bowl of ramen, rice, or Myanmar-Style Shan Soup.

3   tablespoons miso

2   tablespoons mirin

2   teaspoons Dijon style mustard

1   teaspoon grated fresh ginger

2   cloves grated fresh garlic

(optional)

1 ½    pounds flank steak

1.  Combine the miso, mirin, mustard, and aromatics to taste in a shallow dish (preferably one with a lid). Mix well.

2.  Place the steak in the dish. Rub the marinade into the steak, coating it completely. Cover the dish and place in the fridge for at least 2 hours and up to 24 hours.

3.  When you are ready to cook, set an oven rack a few inches below the broiler element and turn on your broiler.

4.  Wipe the marinade off the steak with a paper towel. This is important, as the thick miso marinade can burn easily. Place the steak on a broiler pan.

5.  Slide the pan directly under the broiler. Cook for 4 to 6 minutes, or until the top edges are crisp and lightly charred. Flip it over and broil for another 4 to 6 minutes, or until top edges are lightly charred. When the steak is done, the internal temperature in the thickest part will be 120°F to 125°F/49°C to 52°C for rare, 125°F to 130°F/52°C to 54°C for medium rare, 130°F to 135°F/54°C to 57°C for medium, and 140°F/60°C for well done.

6.  Let the steak rest for 5 minutes. Slice it, cutting against the grain, into very thin slices. It’s ready to serve immediately.


Myanmar-Style Shan Soup Recipe

IMG_2995.jpeg

This soup also is a preview of a simple legume ferment from our upcoming book on fermented legumes and grains. We are super excited to announce that is what we have been working on all year (much of why you haven’t heard much from us.) Just this week it is out there in the big world with a beautiful cover and ready for pre-order. In it we have taken the mystery out of some of the world’s most delicious and unique ferments—including koji, miso, natto, and tempeh—making them easy with step-by-step instructions.

We hope you enjoy the recipe and the soup warms you up.

Cheers,

Kirsten and Christopher


Myanmar-Style Shan Soup

Yield: 4 good-sized bowls of porridge

Fermentation: 12 hours for the first ferment and 3 hours for the second

Gluten-free, vegan

During our trip to Myanmar, we had planned to visit the region in the northern part of the country where tea leaves are fermented, which is home to many different ethnic groups, several with their own standing armies. We had to change our plans at the last minute because fighting broke out between Myanmar’s government army and one of those regional armies, cutting off our access to the tea villages. We found tea plantations and the fermentation we were seeking, including this tofu, in other parts of the country.

In Burmese, this soup is called hto-hpu new, which either means warm tofu or hot tofu. We got various translations and, depending upon where we were eating it and which hot chile had been added, it did range from warm to very hot. This is a great base for some interesting soup bowls.

8   cups water

2   cups chickpea/garbanzo flour

1   tablespoon peanut oil

1   teaspoon salt

½ teaspoon powdered turmeric

Hot sauce (optional), for topping.

Chopped cilantro, cooked rice noodles, chopped roasted peanuts, blanched greens, or finely sliced shallots (optional), for topping

1.  Pour the water into a large bowl. Add the chickpea flour and whisk until well combined. Cover the bowl with a plate or lid and let ferment at room temperature for 12 hours.

2.  Stretch a piece of cheesecloth across another large bowl and secure with a rubber band. Pour the chickpea batter through the cheesecloth into the bowl. This may take a little time and patience. It helps to have a rubber spatula handy to periodically scrape the the cheesecloth to remove the chickpea sediment. Compost the chickpea sediment. Cover the bowl of broth and let ferment for 3 hours at room temperature.

3.  Pour the oil into a heavy pot and rub it around to coat the bottom and sides. Stir the chickpea broth and pour all of it into the pot. Stir in the salt and turmeric.

4.  Bring the mixture to a boil over high heat, then reduce the heat to medium-low and cook at a slow boil until thickened and slightly reduced, 20 to 25 minutes. Stir continuously with a spatula to keep the mixture from sticking to the bottom of the pot.

5.  Remove the pot from the heat and serve the soup immediately, topped with a drizzle of hot sauce, if you like, and your favorite fresh toppings.


FUR-ments: Fermenting Vegetables for Your Pet's Gut Health

Fur-ments — Using vegetable scraps to increase the health and vitality of our pets.(Fur-ment model pictured: Maeve who was born 16 years ago on the homestead. She has out lived all of her 8 siblings.)

Fur-ments — Using vegetable scraps to increase the health and vitality of our pets.

(Fur-ment model pictured: Maeve who was born 16 years ago on the homestead. She has out lived all of her 8 siblings.)

This post was sent to us by Noel Thurner who has come up with a wonderful process for using vegetable scraps to improve the health of your pets—how cool is that? While we do share some of our own ferments with (our very picky) pup it never occurred to us to take the peels and other vegetable scraps to make some nutrient dense pet condiments. (Especially since all of dogs we have ever had have always dug into our compost piles and worm boxes—looking for these very scraps!)

We have always been interested in keeping our pets healthy without using harsh chemical wormers. One strategy is to make sure that they get veggies in their diet for the fiber that helps keep their digestive tract less susceptible to worms. Our go-to natural preventives have always been garlic, diatomaceous earth and pumpkin seeds. Pumpkin seeds have never been popular but when we grind them in with the fur-ment, that picky pup, doesn't notice. Diatomaceous earth is tricky because it is light powder and it is extremely important that they don't inhale it—again you guessed it—easily solved by mixing the dose in a the wet fur-ment. We do ferment the garlic straight into our ferment as our animals have had great results with garlic doses, but because Noel doesn't recommend alliums we suggest you work with your vet to decide if garlic is right for you.

To learn more about basic fermentation (and advanced) for pets or humans please check out our online classes at Fermentationschool.com

Finally, isn't the word fur-ment perfect. Noel shared that it was Sandor Katz who came up with the spelling. Noel was taking a class from him in the early 2000’s at the Organic Growers School in Asheville and told Sandor about feeding pets ferments at which point he coined the word FUR-ment.

Without further ado, here is Noel's process.


If you are reading this it is because you want to ensure that your dogs and cats receive optimal nutrition: fermented foods are one of the very best ways to support good gut health, thus vitality.

It is no secret after the past decade of extensive gut biome research that the gut is the key to a strong immune system and a happy mind. So how to get those beneficial bacteria into your pet? Easy: fermented vegetables—in an application we’ll call fur-ments.

I have created a new way to craft fur-ments using the scraps of food one would either discard or compost. This is the ultimate in up-cycling food from your quality, preferably organic, vegetables. This not only keeps these ‘wastes’ out of the landfill, but provides a nutrient-dense and fiber-rich ‘vitamin pack' for one’s pets.

Dogs and cats have been coexisting with humans for thousands of years and have always been there to consume our ‘leftovers’. Fur-ments are a great way to enhance your pet’s diet with vegetable nutrients, necessary fiber and probiotics.

The focus here will be vegetables from the cruciferous family, root peels and low glycemic vegetables. I choose not to include those from the nightshade family: white potatoes, tomatoes, peppers and eggplant - as these tend to be inflammatory with less nutrient dense peels and skins. No alliums or sugary fruits, either.

How to make fur-ments? I use a food grade 12” x 20” tray and fill with carrot peels, stalks from broccoli & cauliflower, bruised bok choy leaves, red and green cabbage outer leaves, kale and collard ‘spines’, along with a mushy apple and beet cubes from a beet kvass ferment. You get the idea. I collect these raw cast-offs in a gallon Ziploc freezer bag, tossed in the freezer, stuffing the bag to capacity in order to create a few quarts of fur-ment. (Kirsten: We keep the prime veggie scraps in a lidded glass container in the fridge and make the ferment about one a week because we have a lot of scraps.)

Once warmed to room temp, I salt with Redmond’s Real Salt as if I were serving to one who likes a lot of salt on their salad and mixed to ensure even salt distribution. General rule of thumb for a ferment is 1 teaspoon of salt per 1 pound of veggies. It is IMPERATIVE you use a natural salt, one that is not filled with additives, especially anti-caking agents. Otherwise your fur-ment will not ferment. Other options are Celtic or Himalayan Sea Salt.

A rainbow medley of low glycemic veggies, chopped & ready for grinding in a food processor.

A rainbow medley of low glycemic veggies, chopped & ready for grinding in a food processor.

Next step is processing. A trip to the food processor creates a chunky mass. You will see a brine and that elixir is good!

Veggie scraps chopped in the food processor and salted, now ready to mix and pack.

Veggie scraps chopped in the food processor and salted, now ready to mix and pack.

I tightly pack a wide mouth quart jar and have place a cabbage leaf on the top of the ferment to ensure the mass stays below the brine. You are creating an anaerobic [no oxygen] environment.  I use Pickle Pipes to allow the carbon dioxide to escape. One can also use a canning band and lid but then you must ‘burp’ the jars daily.

Let sit at room temp out of direct sunlight for 3 days. Best use a plate under the jars to catch the juices in case you get a really active ferment. Once a day it is a good idea to push the pulp back down to keep it well packed: this food is alive! One can then place the jars in refrigerator, replacing the pickle pipes, if used, with lids. The fermentation will continue but just slower at the cooler temps.

This nutritious blend is now vibrating with vitality for your pets. Daily dose: 1 teaspoon per every 20 pounds of dog. Cats need just a pinch.

If you are new to fermentation, check out the free fermentation ecourse on this site, or see the Shockey's must have book. Also please visit this Canadian site link for easy-to-follow guidance for ensuring your pet’s ferments are perfectly crafted. Expert reviews of fermentation products as well. Holly Howe’s site is clear, simple and addictive!

The Canadians at Dogs Naturally Magazine wrote a beautiful article on explaining the importance of supporting the gut biome in your dog and how to do such.

Karen Becker DVM gives an explanation on her Mercola Healthy Pets blog of how to introduce ferments to your pets and the dosage, for both dogs and cats.

Never hesitate to ask questions: I want you to succeed.

Here’s to wild fur-mentation for you and your pets!

In health…

Noel

noel.thurner@gmail.com


Tips for Fermenting Pumpkins and other Winter Squash

Fermenting pumpkins and other winter squash

You can make delicious fermented condiments with winter squash. You might ask why ferment winter squash? It keeps so well. The main reason is it is delicious and sometimes, if you’ve had an abundant harvest, you are sick of eating squash soup.

Way back, fermenting winter squash was one of our first forays moving beyond cabbage and basic kraut. Our neighbors grew beautiful blue Hubbard squash for seed. The organically grown seeds were the crop and the thick wall of rich flesh that surrounded the seed was the waste. We had our small farm-to-kraut company at the time and didn’t want to see all that organic food go to waste. So, we took buckets and buckets of cracked squash home and began to trial methods and flavors to ferment it.

We learned immediately placing cubes in a salt water brine and pickling them was not the way to go, which didn’t keep us from fermenting the whole jack-o-lantern this year. (As an aside here is a fun history of the pumpkin's roll in history and fairy tales. Including a mention of the pilgrims fermenting this squash into a pumpkin libation.)

While it might be too late for you to ferment your own jack-o-lantern this year, it is not too late in the season to ferment some winter squash.

Tips for making your own fermented squash recipe:

  •    For best results, choose winter meaty varieties of squash with the drier sweeter flesh—think Kobucha, Hubbard, Butternut. The lighter yellow, wetter flesh like pie/jack-o-lantern pumpkins and Delicata work but will leave you with a softer, wetter ferment.
  •    You can mix shredded squash with cabbage for a squash kraut.
  •    You can slice squash in thin slices and combine with other thinly sliced veggies.
  •    Dry brine for best results. This means using the salt that you add to the thinly-sliced or grated vegetable to get the brine, not adding brine made with salt and water. We like to use a 1.5%–2% salt ratio by vegetable weight for fermenting squash. This means for 3 – 3 ½ pounds of squash you will use a tablespoon of fine salt. In warmer climates, you may even have to boost up that ratio a little bit more. *Remember salt helps control the ferment, it helps keep the crisp and slows down the fermentation in warm weather.
  •    Use smoky, warm, and earthy spices—chipotle, turmeric, ginger—to compliment your creation.

Here’s a simple chutney to get your creative ideas flowing. If you make something wonderful we love to hear about it. Share on the comments or post on Instagram and tag us @ferment.works.

Squash Chutney

Makes a quart

4 cups shredded winter squash

1–2 tablespoons salt

½ cup raisins

2 cloves garlic, grated

1 tablespoon sweet curry powder

½ cup shredded carrot (optional)

Process in the usual way taking care to make sure the squash is submerged. Allow to ferment for one to three weeks. It is done when you smell that wonderful pickle acidity. You can store refrigerated for 6–8 months—if you don’t eat it first.


Postcards from the Bay Area

FieryFermentsTour-SanFrancisco
FieryFermentsTour_SantaCruzFermentationFestival

It's Santa Cruz after all. This is more of Christopher's dream ride than the Dodge Charger we have been zipping around in.

FieryFermentsTour_Preserved

At a most beautiful shop in Oakland, Preserved, teaching all-things-peppers to a great group. 

FieryFermentsTour-SacLibrary

Full house at the Sacramento Public Library today, the staff at the Arden Dimick branch did a great job reaching out to the community.

FieryFermentsTour-FarmCurious

A whole lot of habaneros got chopped tonight at the class by FarmCurious.

FieryFermentsTour-GoodDaySacramento

You may have heard of on-air personalities requesting odd foods before they go on - who would have guessed Kirsten demands to boxes of Krispy Kremes with extra sprinkles? ;)

FieryFermentsTour-Omnivore

Omnivore Books is just what you imagine an intimate bookstore that focuses upon food would be and more. Plus, just outside the door the largest guard chicken we have come across...

FieryFermentsTour-OaklandSpiceShop

Teaching spicy in a spice shop? Like a kid in a candy store for us - so many incredible flavors wafting about at the Oakland Spice Shop

How to Ferment Asparagus Pickles Video

We love asparagus season and are always sad when it is over. Fermentation happens to be a fantastic way to extend the season and eat local asparagus for months. 

In the above video you see just how simple it is to make asparagus pickles through a simple lacto fermentation process.

Make them now, show off later

Let’s admit it. Not all vegetable ferments are visually created equal. Bring a big jar of sauerkraut from those cabbages you nurtured all summer, fighting off aphids as they slowly grew within their leaves to the point you could harvest. Yet in the jar, it looks like, you know, sauerkraut. Tastes amazing! That’s when you learn, as you watch people pass by your sauerkraut at the potluck, that people first taste with their eyes. So with that in mind, turn up the visual flavor!

Need more?

If you watch the video above and still want more before making your first batch here are two options. First, you can purchase our first book, Fermented Vegetables, which has a simple recipe for Asparagus Pickles along with at least 64 other vegetables. Alternately, you could take a personal online course from us, Here are two great choices below.

Postcards from Colorado

FieryFermentsBookTour-Colorado.jpg
Big thanks to Mara Rose of Hatch Lab for pulling this beautiful event together. Photo credit to Gillian Pierce and Hatch Lab

Big thanks to Mara Rose of Hatch Lab for pulling this beautiful event together. Photo credit to Gillian Pierce and Hatch Lab

A huge thanks to Marcus McCauley of McCauley Family Farms for hosting us. Photo credit to Gillian Pierce and Hatch Lab

A huge thanks to Marcus McCauley of McCauley Family Farms for hosting us. Photo credit to Gillian Pierce and Hatch Lab

Prepping for class

Mounds of Rhubarb await the start of the day.

Photo credit to Gillian Pierce and Hatch Lab

Rhubarb chop in class

You can spot a professional chef in class by his or her chop...

Photo credit to Gillian Pierce and Hatch Lab

Many hands making light work of a beautiful ferment.

Photo credit to Gillian Pierce and Hatch Lab

Lunch spread

It was as good as it looks.

Photo credit to Gillian Pierce and Hatch Lab

Proud maker of a very nice Rhubarb Kimchi. Photo credit to Gillian Pierce and Hatch Lab

Proud maker of a very nice Rhubarb Kimchi. Photo credit to Gillian Pierce and Hatch Lab

Postcards from Corvallis & Portland & Hood River

FieryFermentsBookTour-Portland.jpg

Trying to hide the panic and go with it...

FieryFermentsBookTour-PowellsBooks.jpg

Powell's is planning on moving a lot of Fiery Ferments! 

FieryFermentsBookTour-MultnomahFalls.jpg

Multnomah Falls is amazing. You just stand there mesmerized by water falling over 600 feet. Kirsten and I were last here 19 or so years ago and agree that the trail is much steeper. Okay, just Christopher believes this to be true.

FieryFermentsBookTour-CascadeLocks.jpg

We stayed at the Cascade Locks on the mighty Columbia river. At first we were disappointed that Hood River had no rooms available but then, as is often the case with us, we fell in love with yet another place and its inhabitants. This is Kirsten in a tree, which happens more often than many people realize.

FieryFermentsBookTour-HoodRiverFarmersMkt.jpg

It feels like coming home to be back in a farmers market stall, greeting people and inviting them in to taste fermented foods, sometimes for their first time. The difference of course is we are selling books, not ferments. Samples have always been free...

FieryFermentsBookTour-WaucomBookstore.jpg

Getting ready for the morning at the farmers market with Jenny and Muir from Waucoma Bookstore on a beautiful Saturday in Hood River Oregon.

Postcards from Yakima & Bellingham & Seattle

FieryFermentsBookTour-Seattle-Map
FieryFermentsBookTour-AELarsonBuilding.jpg

Historic art deco in Yakima on a post-demo stroll about town. Nice way to wrap up the Seattle portion of our book tour...

FieryFermentsBookTour-InklingsBookstore.jpg

A first on this tour - a demo in the wild of sorts. It was a beautiful evening in Yakima outside Inklings Bookshop to talk ferments. Waiting for people to arrive is always the toughest part.

FieryFermentsBookTour-FeedingAnimals.jpg

You know when you are in the Pacific Northwest when a Sasquatch makes the list of animals to avoid feeding on the trail.

Snoqualmie Falls was a great stop on our way from Bellingham to Yakima today. So incredible and so beautiful.

FieryFermentsBookTour-BellinghamBay.jpg

After a great evening with an engaged group at Village Books we took a long walk along the bay in Bellingham. This town has seduced us several times, such a beautiful place.

FieryFermentsBookTour-VillageBooks.jpg

It is always a good sign when the bookstore you are going to speak at has something like this embedded in their walls for all to see. Here is to freedom wherever you call home.

FieryFermentsBookTour-ThirdPlaceBooks.jpg

We enjoyed getting to know an engaged group at a community-based bookstore. Photo courtesy of one of those engaged audience members, rainydaybees.com. I am not sure what Kirsten was explaining but she had my attention. Still learning...

FieryFermentsBookTour-Seattle-PublicLibrary.jpg

Writing you these postcards from the Seattle Public Library with this view. This building is amazingly beautiful, as is the city itself.

FieryFermentsBookTour-Seattle-breakfast.jpg

Living in the country we never get to have breakfast at a French cafe in the city. This morning we did, in a corner window table, pondering it all and what's ahead of us.

FieryFermentsBookTour-Seattle-BookLarder.jpg

First night, figuring out our game together. It's been a while since we shared the stage but whatever I am saying it seems to be amusing Kirsten. So far so good.

How to Ferment Peppers: Make a Pepper Mash

How to ferment hot peppers? How to ferment bell peppers? Doesn’t matter.

Lacto fermented Hot Sauce (or mild sauce) starts with fermented pepper mash. This technique is so simple and can be used with any type of pepper. It is up to you. Make what you like.

Adjustable to any pepper—banana peppers, carrot peppers, Thai peppers, Aleppo peppers, green chile peppers, ghost peppers, Fresno peppers, cherry bombs, jalapeños, shisito peppers…you get the ideaI. If you have it you can ferment it.

Pepper mash can be fermented in very small batches (say in a half-pint jar) or in a large-scale hot sauce plant. In this video we show you how to make a small batch. How long to ferment peppers? That depends on what you are looking for. At home fermentation you have the choice of how long you would like to ferment it. We suggest at least three weeks. Lacto fermented peppers develop more flavor over time. The thing is a fresh hot sauce is a flavor you will never be able to buy from the store. You can learn all the tips and tricks to make your own fermented hot sauce recipes in our self-paced online class. Our hot sauce fermentation book Fiery Ferments will also get you started with recipes that have been inspired from flavors all over the world.

Here's a fun fact. A large producer makes pepper mash by crushing whole red chiles with a hammer mill and adding a 5 to 8 percent salt ratio (our mash ratio is much lower at about 2%). This mixture is then put into barrels. Traditional Louisiana-style sauce makers procure the charred white oak barrels previously used by Kentucky whiskey distillers. The barrels’ wooden lids are fastened with stainless steel hoops and blanketed with a thick layer of salt. Tiny holes in the lids allow CO2 to escape. The salt blanket hardens due to humidity and seals the barrel fully after the active fermentation process stops.


Peaking into the Fiery Ferments

You have heard about it and hopefully reserved yourself a copy. Now you can sneak  a peek at what will be arriving. Our publisher has just released a sneak peak which includes quite a bit of content. 

How about a Spicy Horseradish Mustard that you can be eating by the weekend? Chocolate-Cranberry Mole anyone? Went a bit overboard buying kimchi and looking for a new recipe? Kimchi-Stuffed Jalapeños could be just the thing to polish off a jar. Finally the Lemon Achar Roast Chicken will be tough since you don't have the recipe yet for the Lemon Achar but is great to look at and dream...

Make Basic Fermented Pepper Mash

Here is a look inside the pages of our pepper fermentation book Fiery Ferments. Make your own fermented pepper mash—the first step to many a delicious hot sauce. We created a video of this lacto fermentation hot sauce process as well.

Hot sauce is not all the same. You might think its just cholula hot sauce, crystal hot sauce or your favorite Louisiana hot sauce and if you are talking about what is available on your local store shelf maybe. But if you want to make hot sauce its a new world of opportunity. How do you make hot sauce? Its actually really easy and usually it starts with a pepper mash. Pepper mash fermentation is the key to a great hot sauce by developing the flavors of the peppers before acidifying with an acid like vinegar.

Check out our fermentation masterclass on fermented hot sauces. You will learn to ferment hot sauce with any pepper you love. Learning how to make hot sauce from scratch is fun. You can choose blazing hot or super mild peppers, fresh or dry and blend in other flavors. This fermentation class will teach you everything you need to make your own safe probiotic hot sauces. If you are new to fermentation and just trying to figure it out you might start with this article that helps you to understand it from the beginning—what is fermentation and what are the benefits of fermented foods like this basic pepper mash.

Basic Fermented pepper mash from Fiery Ferments
Mastering Basice Pepper Mash from Fiery Ferments

Fermentistas: Beware the Storage Cabbage!

Dry, tough storage cabbage that doesn't easily release a juicy brine

Dry, tough storage cabbage that doesn't easily release a juicy brine

Let’s talk about fermenting storage cabbages. Last week I taught a hands-on class. I’d bought each student a beautiful small head of cabbage. Later, that evening during the demonstration portion of the class, I realized that the students would have to make their first ferment with rebellious cabbage.

Here’s the thing: as I stand in front of the impressionable new fermenters, I am often slicing, salting and then massaging a cabbage while talking. (No, I can’t pat my head and rub my belly at the same time but I can talk and build a jar of sauerkraut at the same time.) So it throws me off when I am massaging and telling the good people about brine and the cabbage refuses to give it up. I continue to talk as I am working harder and harder, smiling, trying to make it look effortless.

In this case, they were about to use the cabbages themselves so I stopped and said, “You guys are going to have fun with this cabbage; it’s a tough storage cabbage, you will want to make sure to take your time and slice it thinly.” (Which was a challenge as the venue had provided everyone with boning knives, but that is beside the point.) “The good news is, this is about as hard as making kraut will ever be, so it’s smooth sailing from here.”

Let me digress a moment to share a story about the first time I’d learned that storage cabbages can be a problem for fermenting. The lack of inherent moisture, the thick waxy leaves, all the qualities that keep these cabbages from rotting in storage are exactly what inhibit the fermentation, because what is fermentation if not controlled rot? In the following tale of a small sauerkraut company and the Storage No. 4 cabbage variety this lesson was learned—the hard way.

This small company I speak of operates with the triple bottom line and is exceedingly committed to supporting the local foodshed by using only local ingredients when in season. So when one of the local farmers came to the company with the idea to provide cabbages for a longer season by growing a keeper that was harvested in the fall and capable of surviving storage through the spring it seemed like a win-win situation. The kraut company would have local cabbage in the late winter and early spring for production. The farm would also extend its income stream. Done. Acres and acres were planted. The cabbages did what cabbages do and grew and grew. They were harvested and stored and eventually processed and set in fermenting barrels as needed to keep supplies fresh and abundant. When the first barrels were opened after three weeks, the cabbage had not yet fermented. At first this was strange but can happen so they closed the barrel and allowed more time. Eventually, after waiting for a few months they had to concede that this kraut wasn’t going to be good.

You are most likely to run into these cabbages in grocery stores in February, March, and into April when the winter cabbages are sold and the spring cabbages have not yet matured. It is hard to tell at first glance, and even upon deeper inspection it can be confusing. I admit, when I am out buying cabbage I look for crisp and fresh, not wilted, but I don’t even think about checking the head for signs of being a storage variety cabbage. And while I want you to know all about these varietals, this post is really about what to do when you find yourself with a tough cabbage—you may discover this when you are slicing through extremely dense interiors with thicker, waxier leaves, or later when you are squishing along and not seeing brine.

Tips for a successful ferment with a dry, coarse cabbage:

·      Slice as thinly as possible (breaking more cell walls)

·      Add salt, mix thoroughly, and allow to sit for a half hour before massaging (will break down the tough leaves and coax out moisture)

·      Make a mixed-veggie kraut instead of a plain, naked cabbage kraut (other veggies will bring their juice to the mix and help create enough brine to allow the microbes to do their job)

thin cabbage shreds for fermenting a dry cabbage
Favorite veggies for a juicier kraut: Onions, shredded carrots, shredded beets, shredded turnips (these will give you a flavor the most consistent with a plain kraut), and other shredded root veggies. Pictured here is Curtido (recipe in Fermented Ve…

Favorite veggies for a juicier kraut: Onions, shredded carrots, shredded beets, shredded turnips (these will give you a flavor the most consistent with a plain kraut), and other shredded root veggies. Pictured here is Curtido (recipe in Fermented Vegetables) it is delicious and the many onions create a juicy brine.

Ruby Red Sauerkraut

Making Ruby Kraut Ferment Works.jpeg

Why this kraut? Crimson and earthy, sweet and sour…what’s not to love?

The color alone makes it worth making, and not only because it looks good on the plate. You may have heard the term “eat the rainbow”, and this ferment pulls from the red and purple vegetables. The quick story is, veggies with these colors contain flavonoids, lycopene, vitamin C and folate which are all important for general health and more specifically heart health. Anthocyanin is also in the mix which is thought to help prevent aging, especially when it comes to memory and our brain, as it has twice as much antioxidant power as vitamin C.

Probably the best thing about this kraut is that it is delicious. It wants to be tucked into a simple grilled cheddar cheese sandwich or served alongside a warm, winter pot roast. It is also a friendly ferment for those who may be a little, shall we say, kraut adverse. This sauerkraut not only has a mellow sour but also a nice sweetness as a result of the cranberries.

Ruby Red Kraut

Makes about a quart and a half

1 small red cabbage (about 1 ½ - 2 pounds), shredded

1 large beet, grated

1 crisp tart apple, cored, quartered and sliced thin

3 tablespoons, fruit-sweetened dried cranberries

1 tablespoon + ½ teaspoon salt

Optional: 2 teaspoons caraway seeds

Prepare the cabbage: remove the coarse outer leaves, rinse a few unblemished ones and set them aside. Rinse the rest of the cabbage in cold water. With a stainless-steel knife, quarter and core the cabbage. Thinly slice with the knife or a mandolin, then transfer the cabbage to a large bowl. Prepare the beet and apple and add to cabbage along with the dried cranberries and optional caraway seeds.

Add a tablespoon of the salt and, with your hands, massage it into the veggies, then taste. You should be able to taste the salt without it being overwhelming. Add more salt if necessary. Quickly the cabbage will glisten and liquid will begin to pool. If you’ve put in a good effort and don’t see much brine in the bowl, let it stand, covered, for 45 minutes, then massage again.

Transfer the cabbage a portion at a time to a ½ gallon jar, a small crock, or the fermenting system of your choice. Press down on each portion with your fist or a tamper. You should see some brine on top of the cabbage when you press. Weight down with fermentation weights or a simple bag trick. Set aside, somewhere nearby and out of direct sunlight for 10 - 14 days, or as long as 3 months - or until it achieves a flavor and sourness you enjoy.

The most important thing during the first few days is to make sure all the veggies are submerged and under the brine. Check daily in the beginning, pressing down as needed to allow the CO2 to escape and bring the brine back to the surface. Using a utensil, you can start to test the kraut in one week. You'll know it’s ready when:

·      You will be able to smell that pickle-y smell

·      It’s pleasingly sour-pickle-y tasting without the strong acidity of vinegar

·      The veggies have softened a bit but retain some crunch.

This kraut will keep refrigerated for 1 year.